Instructions For Growing & Processing Cucumber Seed
Saving seed instructions:
Cucumbers will cross-pollinate, so isolate 0.5 kilometer from other cucumbers. Fruit for seeds should ripen past edible stage and begin to soften and turn yellow.
Growing cucumber:
You can direct seed cucumber or start plants indoors 2-3 weeks before the last rains after all danger of frost is gone before planting them outdoors. plant in rows 1-2 meters apart, Sow seeds 50-70 centimeter apart. Seeds should be planted 1 centimeter deep, place 2 seeds, You may want to thin the seedlings as they grow. planted in rows you can encouraged them to climb trellises.
- Use a manila tag to recored harvest and processing information. For example
Cucumber 3530 fruit
Beit Alfa
H. 9.28.09
P1. 10.2.09
Harvest:
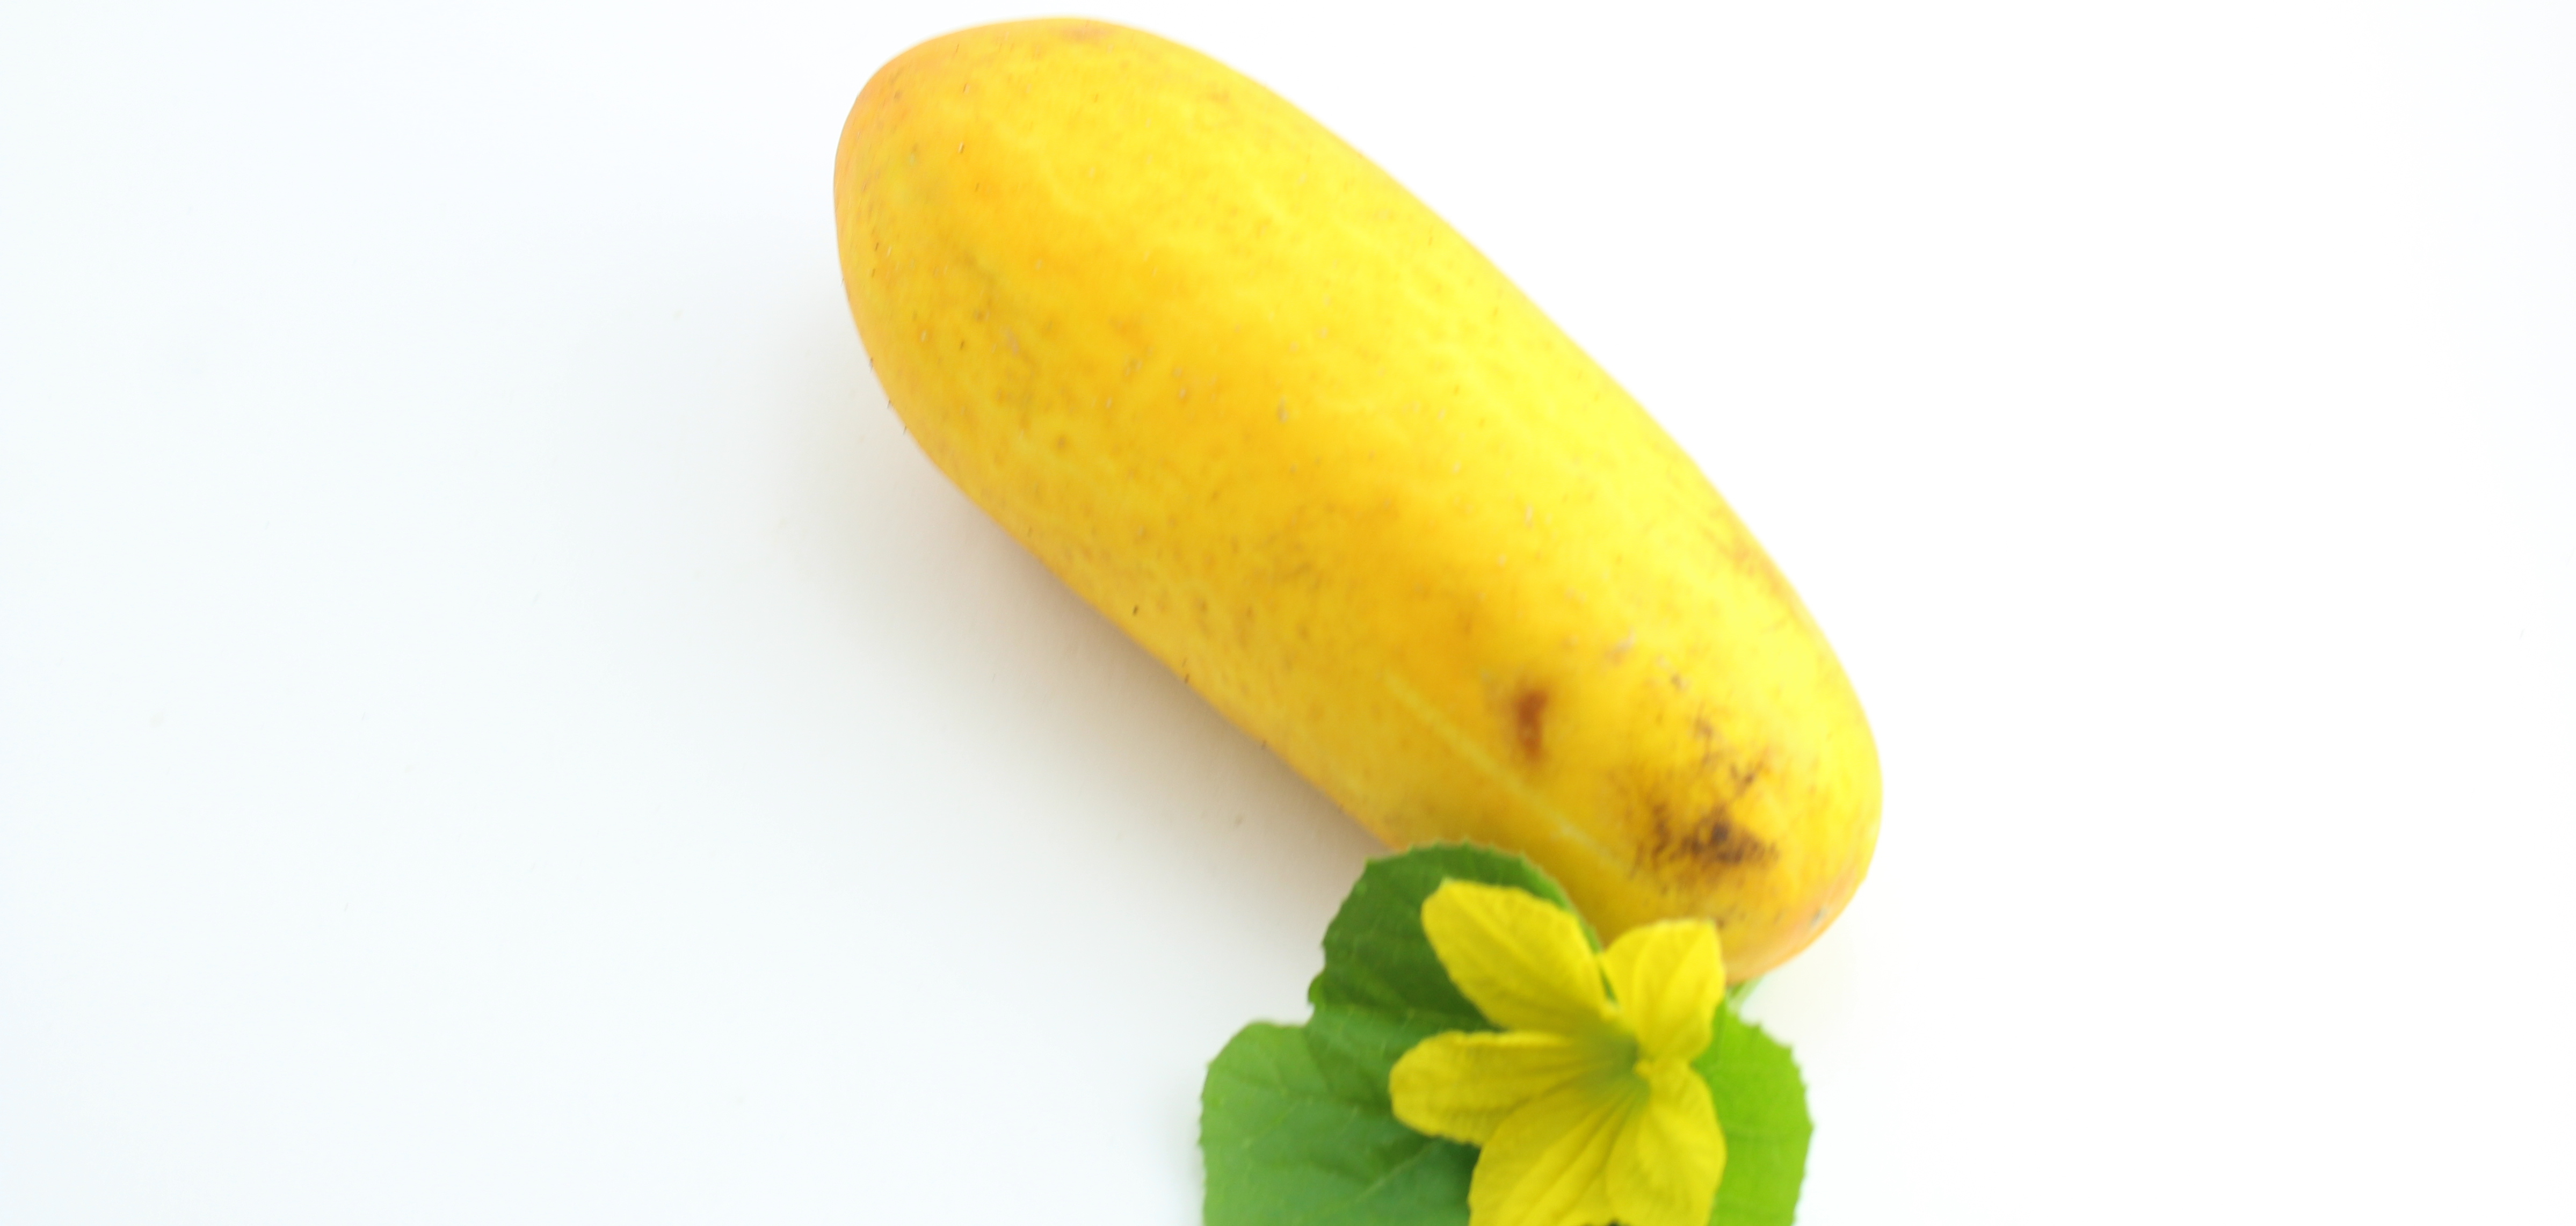
cucumbers are ready for seeds when they are fully ripe, the color changes from green to yellow, harvest only when thy are completely yellow (as in pic), and store in dark cool place until fruits are soft to the touch.
Instructions for Following cucumbers through Wet and Dry Processing
SEED REMOVAL
Processing Area
Seed is processed in a kitchen area
Materials Needed
- Tall compost bin
- Bucket of water with rag
- Deli tub (either small or large) or small bin for seed storage
- Knife
- marker
- Gloves (optional)
- Processing log
Removing the Seed
- Clean work area with water and rag, removing any debris and inspecting for rogue seeds that may have been left previously.
- Bring the variety that is to be processed and place tub on table next to the work area.
- Estimate quantity of seed that will be extracted and choose a holding tub representative of the expected amount. For example, use a short deli tub for a low number of fruits, a large deli tub for a good number of fruits, and a small bin for a large quantity of fruits.
- Chose a knife and make a slice in the cucumber. Be mindful when cutting into the fruit that seeds are not damaged in the process. This is more crucial when processing fruits like cucumbers, but a good habit to get into!
- Break fruit open the rest of the way with hands. Place one half back into the tub and hold onto the half that will be processed immediately.
- With fingers, squish around the inside of the cucumber, loosening the seeds and creating a nice juicy environment. The point of this process is to separate the seeds from the placenta and pulp, allowing as little pulp as possible into the holding container.
- Allow seeds to enter the holding container as more juice is created, removing pulp as created, and placing in compost bin. This is a somewhat gentle process and the flesh of the fruit should not be disturbed.
- When seeds have been removed, place the flesh and rind into compost bin.
- If a fruit is very ripe and losing integrity, do the best you can to remove all seeds, sometimes this is very tricky, and if some pulp or flesh drops in the holding container, that’s ok. Water processing goes quicker the cleaner the seed is in the holding container, but sometimes it can’t be helped.
- Take holding container and label to the sink and add a small amount of warm water. The water helps break down the sugars in the membrane surrounding the seed and softens the pulp.
- Set holding container and label on table in the processing room and leave sit for 1-2 days.
WATER-PROCESSING or P1
Processing Area
The seed will be water-processed in a sink area
Materials Needed
- Container of seed to be processed
- Sieve or colander
- Hose with hand-held attachment set on flat spray
- 2 towels
- Screens
Water-Processing
- Wipe down the sink area.
- Choose a holding container of cucumber seed that has sat for 1-2 days and bring to sink.
- Place one of the towels next to sink.
- Add water to the holding container until bucket is almost full. Swish seed and debris with hand, squishing the mush between fingers.
- Allow the water to settle. Good cucumber seed will sink to the bottom of the holding container, while light/empty seed floats to the top along with the jelly coating.
- Gently pour off the water and anything that has floated to the top of the bucket. If there is a large concentration of jelly coats on the surface, they may either be poured off or scooped out with a small hand-held sieve.
- Repeat steps 4 and 5 until everything that floats has been removed and the good seed is contained at the bottom of the container.
- Transfer seed from holding container to sieve.
- Turn hose on and begin spraying seed up, down, back and forth, circular, removing juices, sugars, and other debris. If there is larger debris present that will not pass through holes, remove it with fingers. Sometimes the pulp is particularly persistent; in which case the seed will need to be transferred to original holding container, add water to seeds, place back in sieve, and begin spraying again to clean seed. This process can take anywhere from 45 seconds to minutes.
- Once seed is clean, debris has been removed, and the jelly around the seed is no longer present, turn hose off and wipe the bottom of the sieve on the towel to remove excess water.
- If working with a small amount of seed, grab a coffee filter and place the seed in the filter. Spread seed out with fingers to encourage drying.
- When working with a large amount of seed, find a colander in that is of suitable size (seed won’t sneak through) and place seed in colander.
- Take the processed seed, with label, place the seeds ON the a screen and cover with another screen in front of fan.
- Clean up the sink area, any colander/sieves that were used in the process, and proceed with the next variety.
DRYING THE SEED
Seed will need to be stirred every day to ensure proper drying. Drying usually takes 7-10 days. Seed moisture can either be checked by feel with hands, or a seed can be cracked between teeth—you are looking for a hard dry seed coat and an embryo that is full. This comes with practice!
